Poetry-Rudyard Kipling
23
Apr
2015
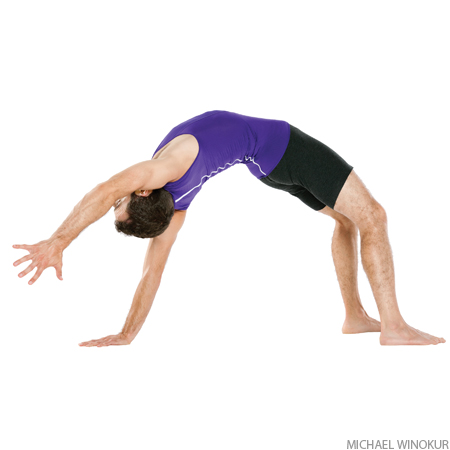
Wild Thing: Step-by-Step Instructions
Start in Adho Mukha Svanasana (Downward-Facing Dog).
Bring your weight into your right hand and roll onto the outer edge of your right foot like Vasisthasana (Side Plank Pose).
On an inhalation, lift your hips with buoyancy. Stay strong in your right hand making a clawing action with the fingers. Keep the head of the right arm bone back. On an exhalations, step your left foot back and place your toes on the floor with your knee partially bent.
Curl back through your upper back to create a sweeping action of the shoulder blades into the back of the rib cage.
See also Chest Openers
On an inhalation lift your hips higher until you curl more into a backbend with your right foot solid on the ground.
Keep breathing and curl your head back, extending your left arm from your heart and expressing your power and freedom.


The moon has a rich symbolic significance in yoga mythology. In hatha yoga, for example, the sun and the moon represent the two polar energies of the human body. In fact, the word hatha itself is often divided into its two constituent syllables, “ha†and “thaâ€, which are then esoterically interpreted as signifying the solar and lunar energies respectively.
(are-dah chan-DRAHS-anna)
ardha = half
candra = glittering, shining, having the brilliancy or hue of light (said of the gods); usually translated as “moonâ€
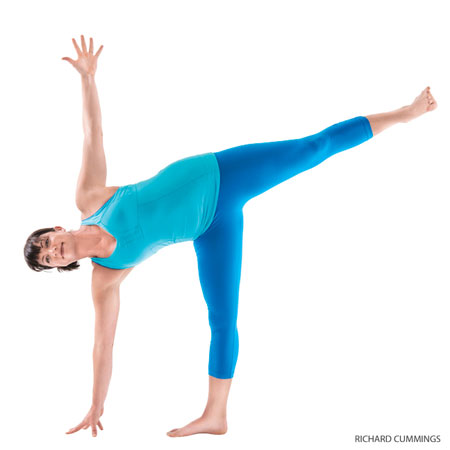
Half Moon Pose: Step-by-Step Instructions
Perform Utthita Trikonasana to the right side, with your left hand resting on the left hip. Inhale, bend your right knee, and slide your left foot about 6 to 12 inches forward along the floor. At the same time, reach your right hand forward, beyond the little-toe side of the right foot, at least 12 inches.
Pose of the Week: Half Moon Pose
Exhale, press your right hand and right heel firmly into the floor, and straighten your right leg, simultaneously lifting the left leg parallel (or a little above parallel) to the floor. Extend actively through the left heel to keep the raised leg strong. Be careful not to lock (and so hyperextend) the standing knee: make sure the kneecap is aligned straight forward and isn’t turned inward.
Rotate your upper torso to the left, but keep the left hip moving slightly forward. Most beginners should keep the left hand on the left hip and the head in a neutral position, gazing forward.

I am honored to be teaching at this wonderful event.
Looking forward to seeing you there.
Shanti.
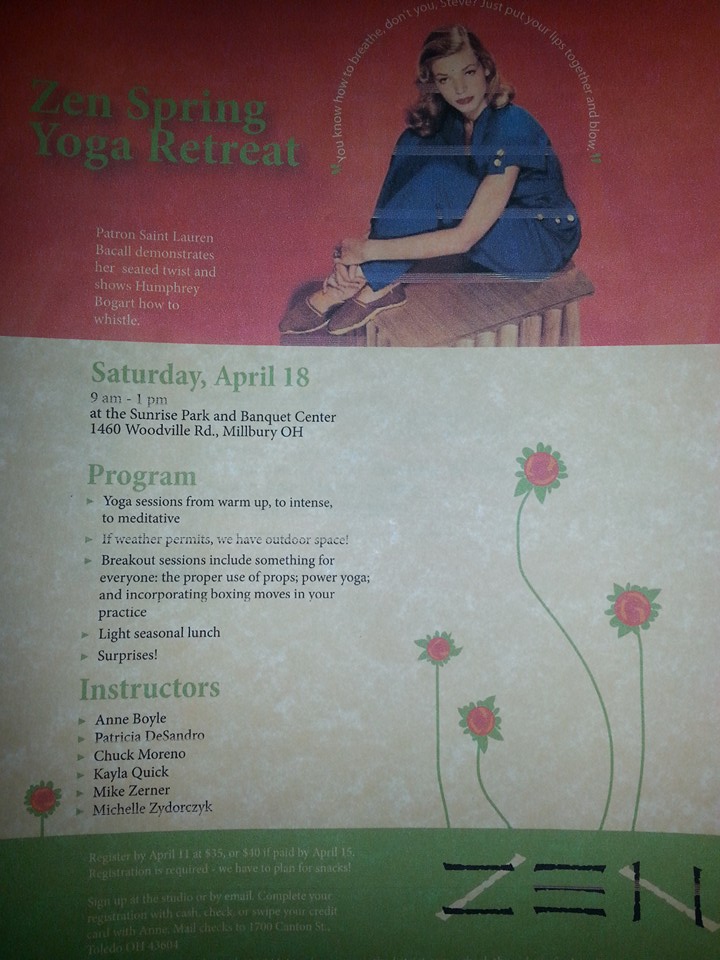
Zen Spring Retreat – Saturday, April 18
Sunrise Park and Banquet Center, 1460 Woodville Rd., Milbury OH
9-9:15 am welcome & intentions
9:15-9:45 am community class – Anne and Kayla
9:45-10 am break
10-10:45 am breakout sessions-choose one of four options:
intensive series
experience the edge – Michelle
yogabox – Chuck
flow series
creating your home practice – Anne
yoga with props – Mike
10:45 – 11 am break – journaling and juices
11-11:45 am breakout sessions-choose one of four options:
intensive series
experience the edge – Michelle
yogabox – Chuck
flow series
creating your home practice – Anne
yoga with props – Mike
11:45 – noon break complete journaling exercise
noon-12:25 pm guided meditation – Patricia
12:25-12:30 closing and thanks
12:30 – 1 pm delicious light lunch and raffles!
Register by April 11 at $35, or $40 if paid by April 15. Sign up at the studio or by email. Complete your registration with cash, check, or swipe your credit card with Anne.
Mail checks to 1700 Canton St., Toledo OH 43604.